Want to see your Cyberwave robot come alive in MuJoCo without burning an afternoon on paths, XML quirks, and missing meshes? This post walks you through a clean, minimal, Cyberwave → ZIP → MJCF → MuJoCo workflow that gets you from browser to physics in a few minutes.
No yak shaving, no mystery XML, no twelve-tab debugging rituals.
TL;DR
- Clone repo: git clone git@github.com:cyberwave-os/mujoco-quickstart.git
- Create venv, then pip install mujoco
- Build scene in Cyberwave, then Export as ZIP file
- Unzip into folder mujoco-quickstart/
- python hello_cyberwave.py
- Have fun!
What are Cyberwave and MuJoCo?
Think of Cyberwave as your robot builder and world editor. A place to assemble scenes, add robot twins, adjust visuals and kinematics, then export them as clean, simulation-ready files.
Think of MuJoCo as your physics engine — a fast, deeply optimized physics-based simulator used across the robotics and machine learning community.
Or, if you like metaphors:
- Cyberwave: authoring & assets
- MuJoCo: simulation & control
This post shows how to connect the two — by hand—using the trusty ZIP + MJCF path.
Step 1. Clone the quickstart project
Start with a working scaffold so you’re testing simulated robots, not your patience. We recommend using Python >=3.12 and uv package manager.
$ git clone git@github.com:cyberwave-os/mujoco-quickstart.git
$ cd mujoco-quickstart
$ uv venv (or more classically: python -m venv .venv)
$ source .venv/bin/activate
$ uv pip install mujoco
The repository is your starter kit: a basic configuration, a a MuJoCo runner script, and a tidy assets folder waiting to receive your Cyberwave export.
Step 2. Smoke-test your setup
Before involving your own robot twin, confirm that MuJoCo, Python, and the example runner are behaving.
$ python hello_cyberwave.pyIf a demo model appears in the MuJoCo viewer, that's excellent. You’re good to go. If it doesn’t, fix it now. Broken installs don’t magically self-heal later in the pipeline.
Step 3. Create or log in to your Cyberwave account
Head to the Cyberwave registration page to sign up, or log in - if you already have an account.
That’s it. The standard web ritual is complete — no CAPTCHA boss fight required.
Step 4. Create a new project
Inside Cyberwave click on the Dashboard button and then on "Default Folder" to create a new project.
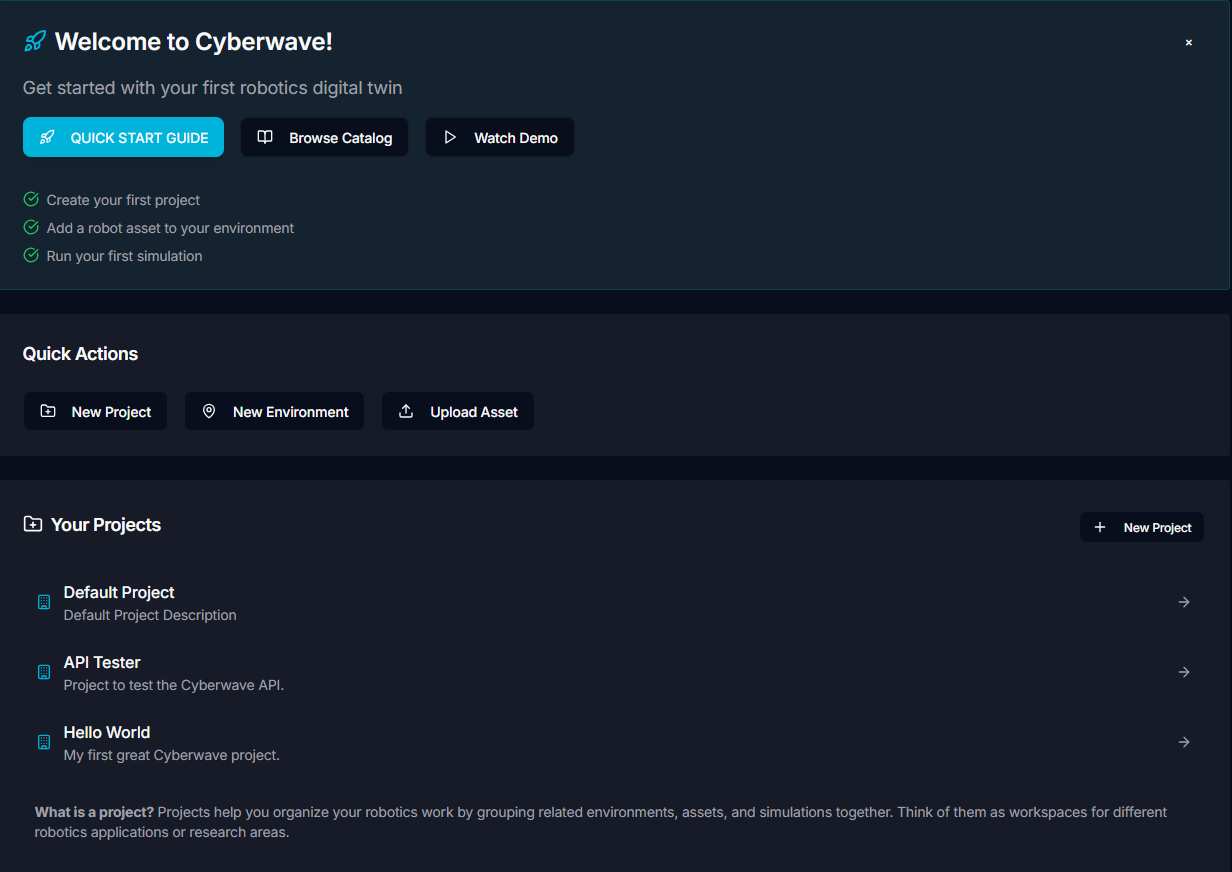
This project holds your scene(s), robot twins and assets that we’ll later feed into MuJoCo.
Step 5. Build your first environment
Now the fun part: construct your world.
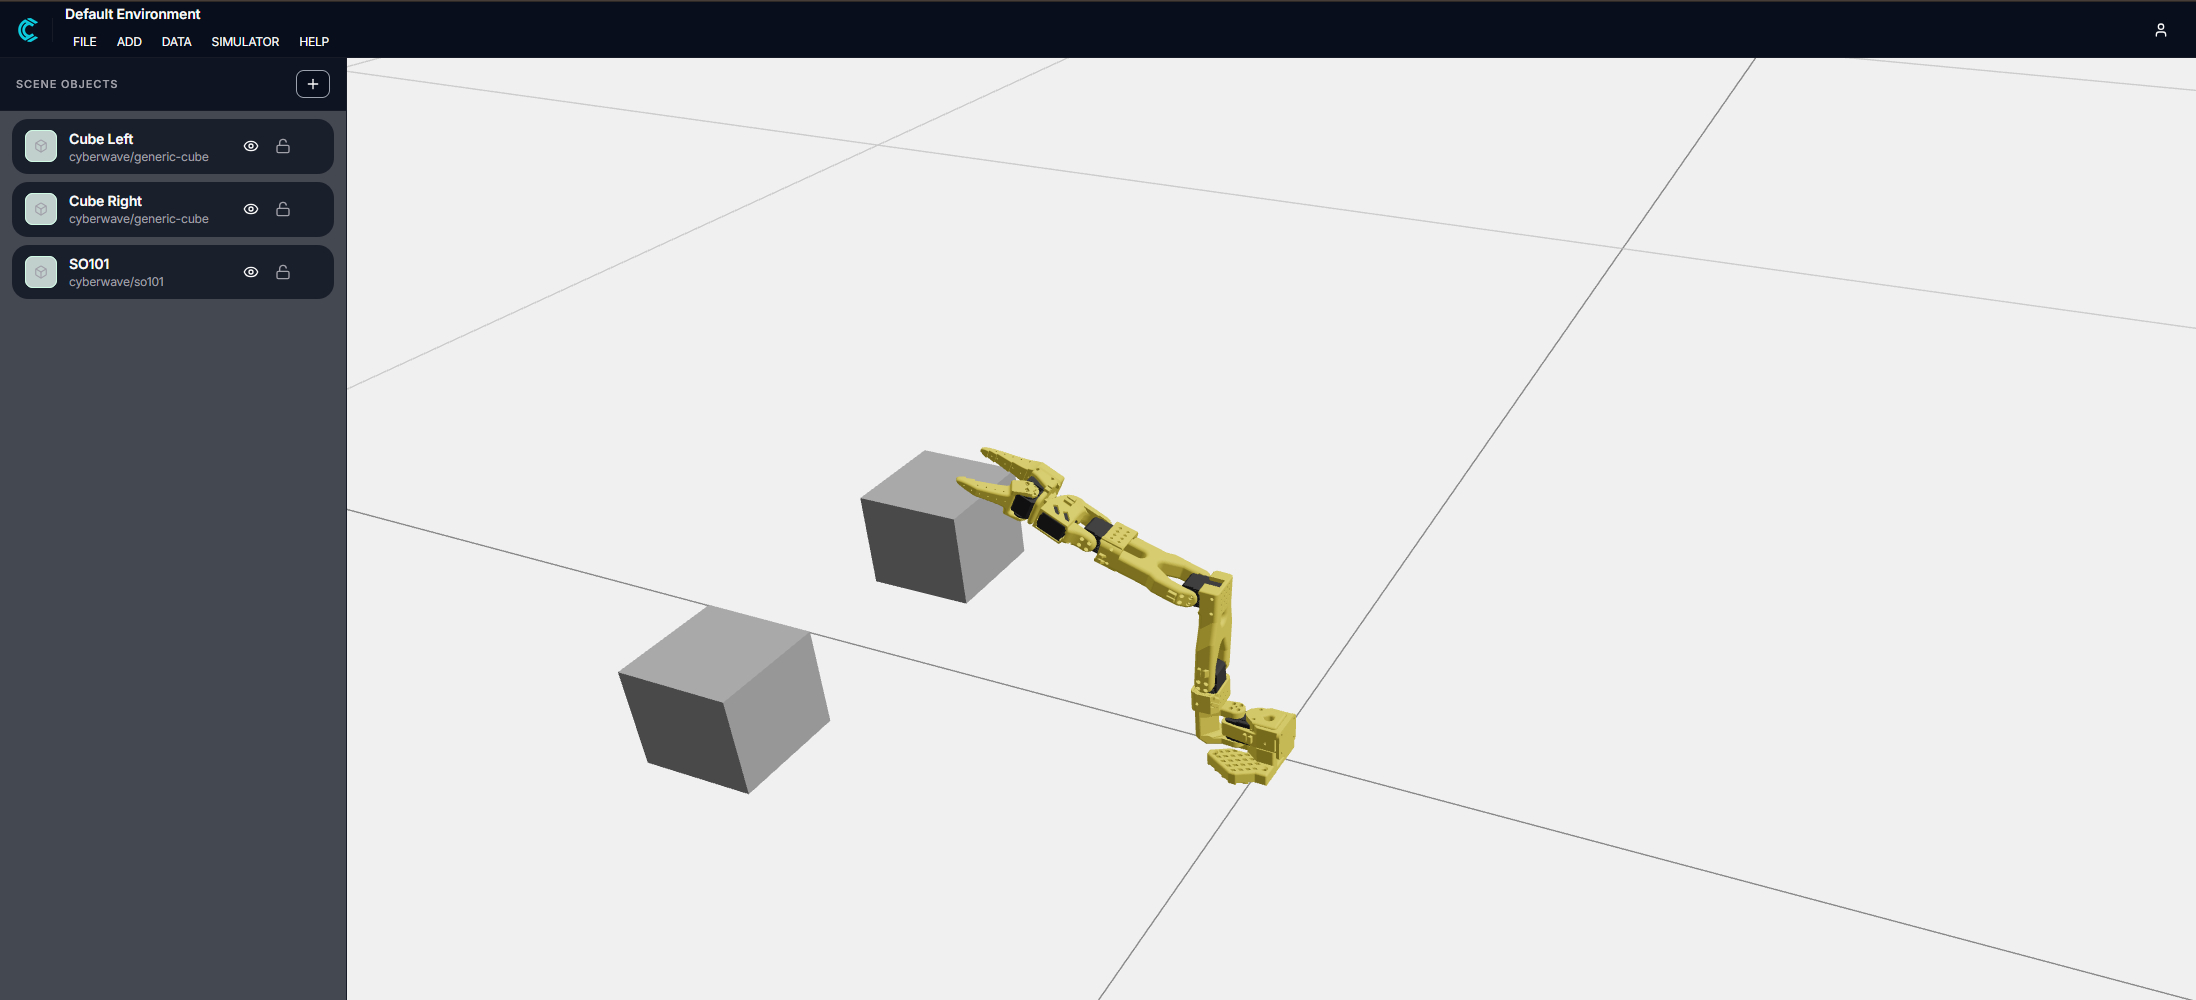
Inside your project:
- Open your twins / assets library
- Drop in a twin or asset
- Move, rotate, tweak — channel your inner robotic sculptor
Make a point to explore the Cyberwave catalog, learn about the handy keyboard shortcuts, and read the docs.
Step 6. Export your MuJoCo package (ZIP + MJCF)
Once your environment looks right:
- Open the File menu
- Select “Export ZIP file for MuJoCo”
- Unzip the ZIP archive in a temporary folder
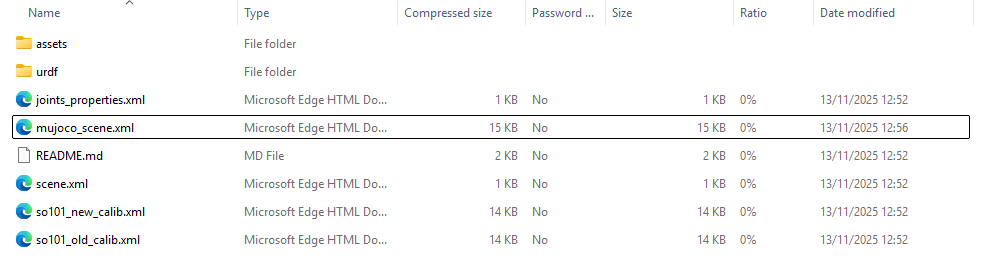
You’ll download a ZIP containing:
- One or more *.xml files (MJCF), typically called mujoco_scene.xml
- Meshes located in the asset/ folder (e.g. .stl, .obj)
- Textures and materials also located in the asset/ folder
Now copy the MJCF + assets into your MuJoCo project:
mujoco-quickstart/
  mujoco_scene.xml
  assets/
    meshes/...
    textures/...
If you use a different assets path, keep it consistent with your runner script.
Step 7. Run the robot in MuJoCo
Run the script:
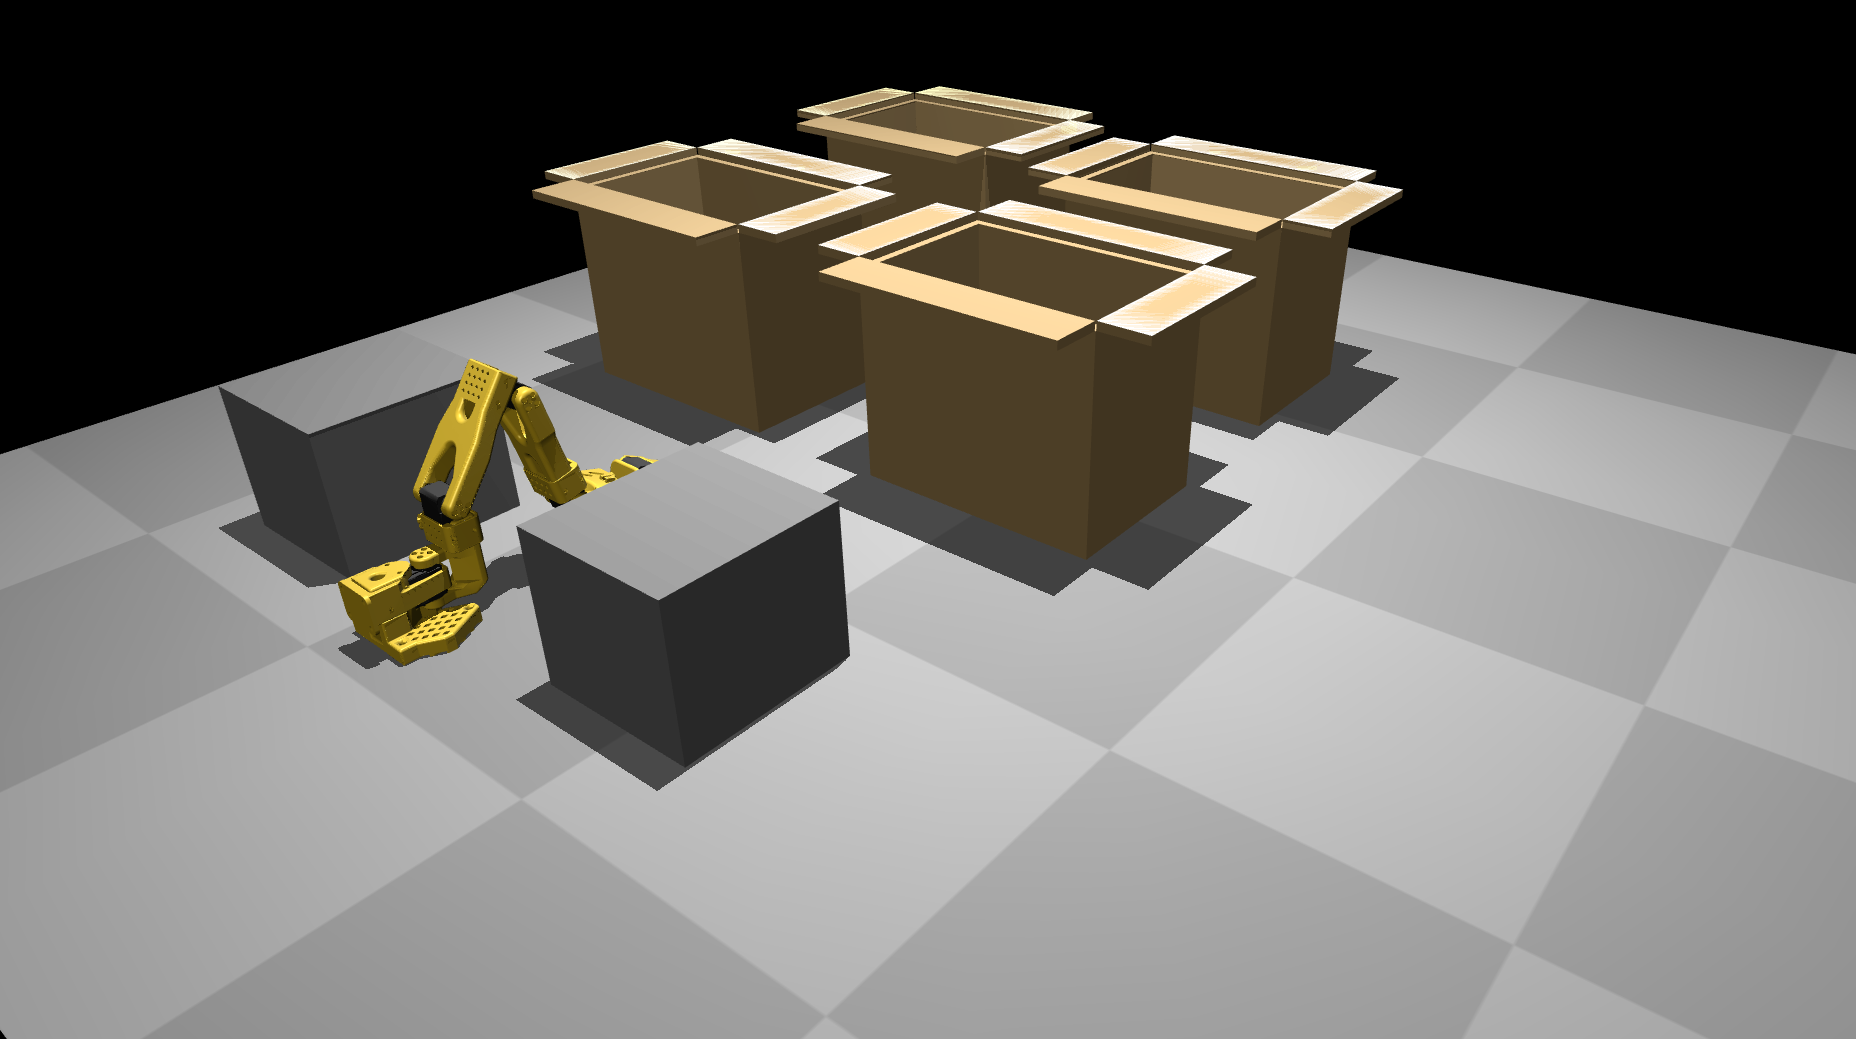
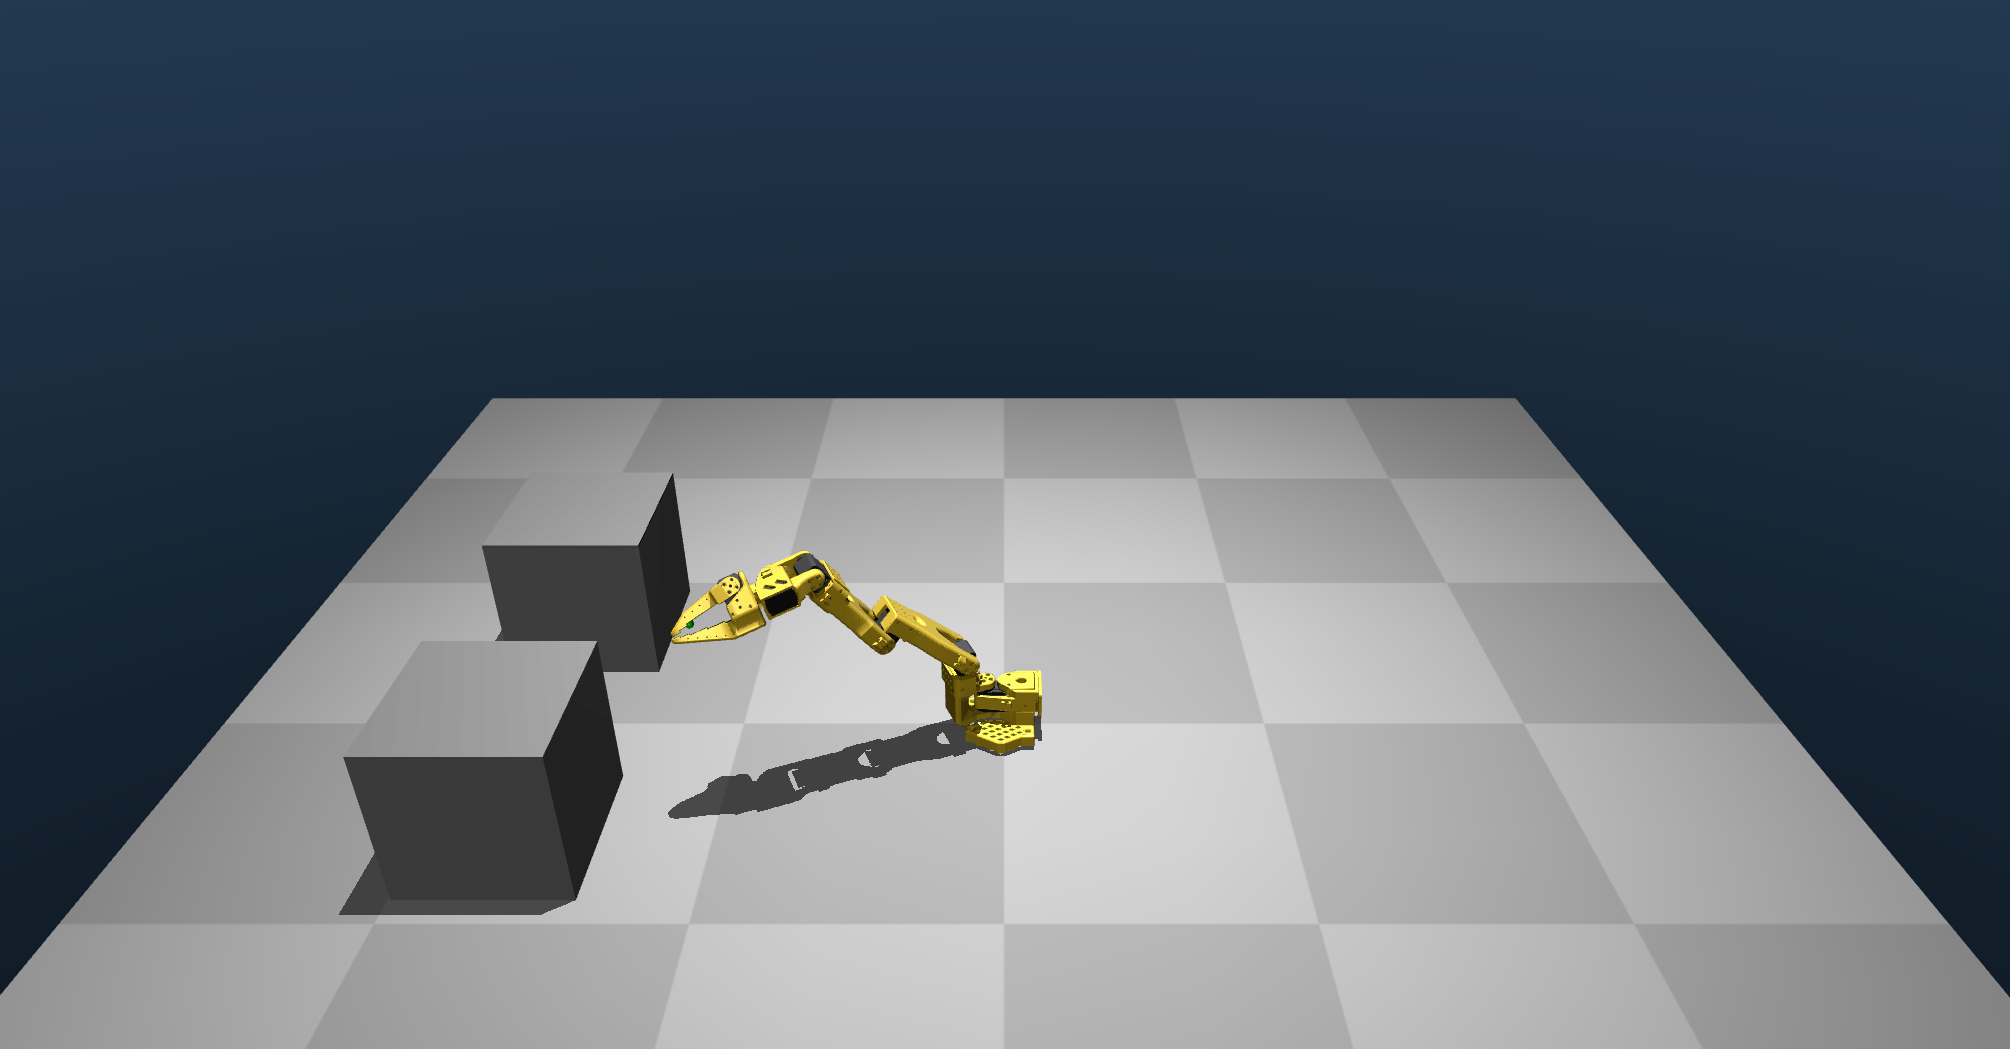
python hello_cyberwave.pyIf everything’s wired up correctly, MuJoCo launches and your Cyberwave-defined robot appears with the right geometry and textures. No missing meshes, no invisible limbs, no XML drama.
At this point you’ve closed the loop:
Cyberwave scene → ZIP -> MJCF xml + assets → MuJoCo simulator, in one tight, reproducible workflow.
Where to go next
Once your robot is loading cleanly in MuJoCo, you can:
- Attach controllers and inverse kinematics.
- Integrate with RL frameworks using the same MJCF.
- Script tasks, trajectories, and evaluation suites.
- Iterate in Cyberwave, re-export, and re-run in minutes.
The whole point of this workflow is to treat authoring and simulation as one continuous loop, not two different universes. That loop is where serious robotics work and the fun actually begins.